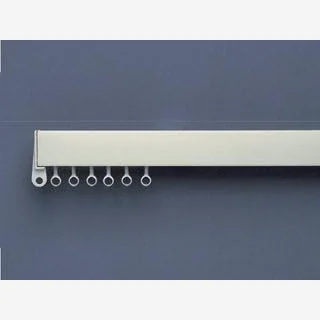
Swish Deluxe Curtain Track Set (250 cm)
Baseline Deluxe kit whose components match the diagrams used in generic Swish instructions.
Check priceAssembly guides, cord re-threading tips, curtain hanging notes and yearly care advice gathered in one place.
The same complete packs our assembly notes refer to when describing trims and brackets.
Baseline Deluxe kit whose components match the diagrams used in generic Swish instructions.
Check price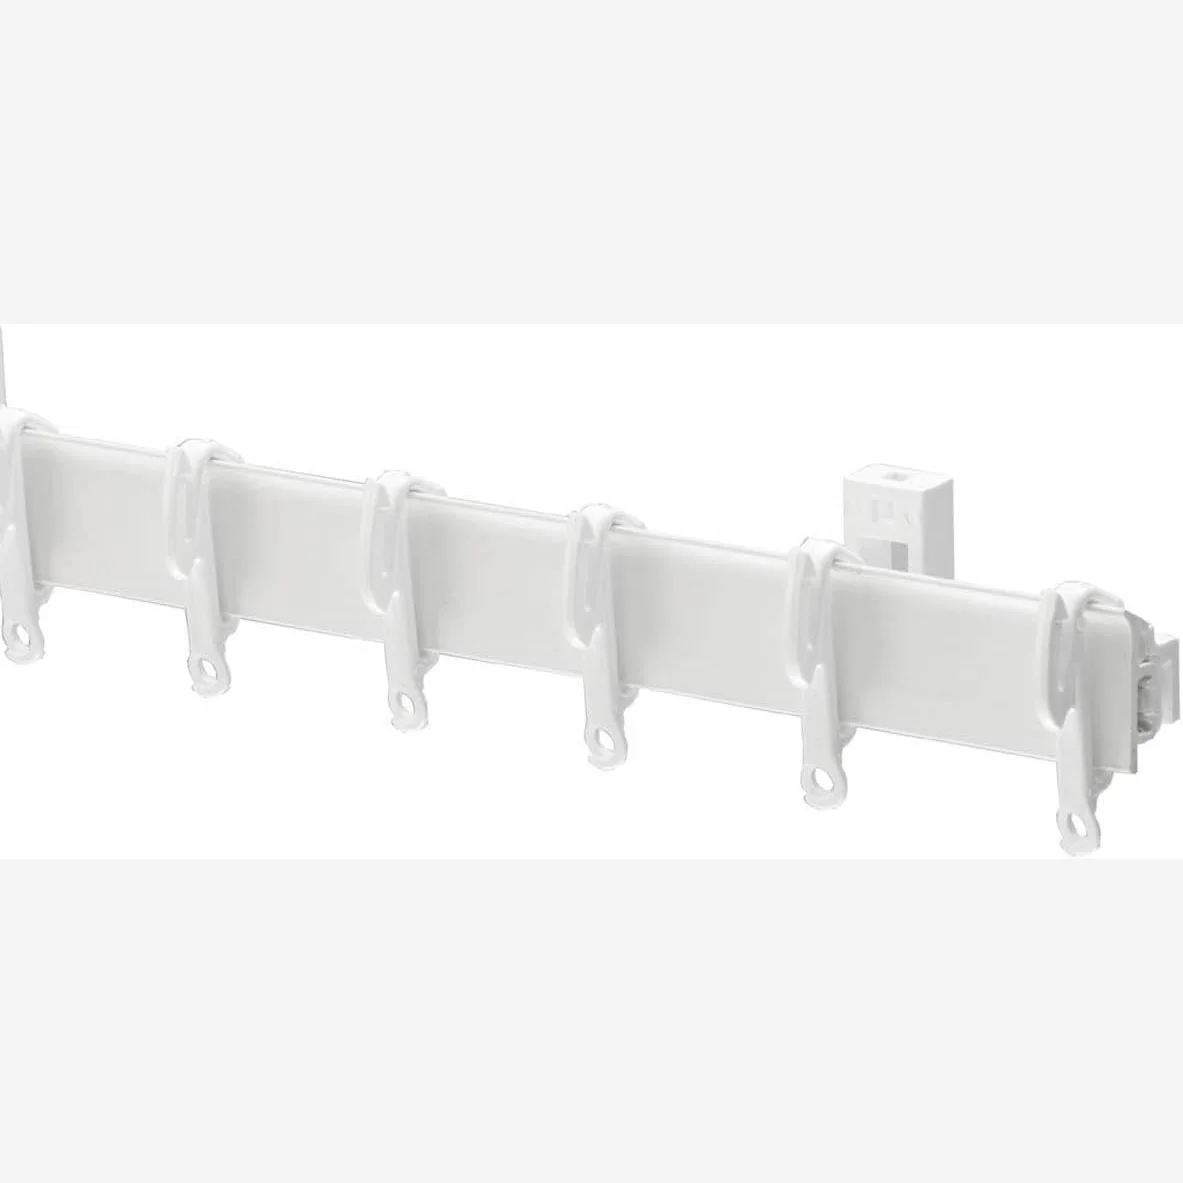
Compact Sologlyde set helpful when following cord and bend instructions at smaller scales.
Check price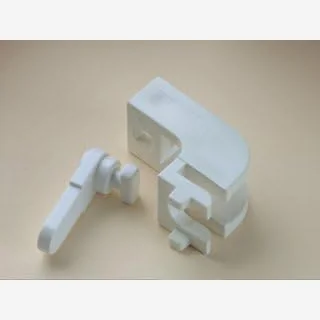
Bracket hardware pack referenced whenever instructions describe lever closure torque.
Check price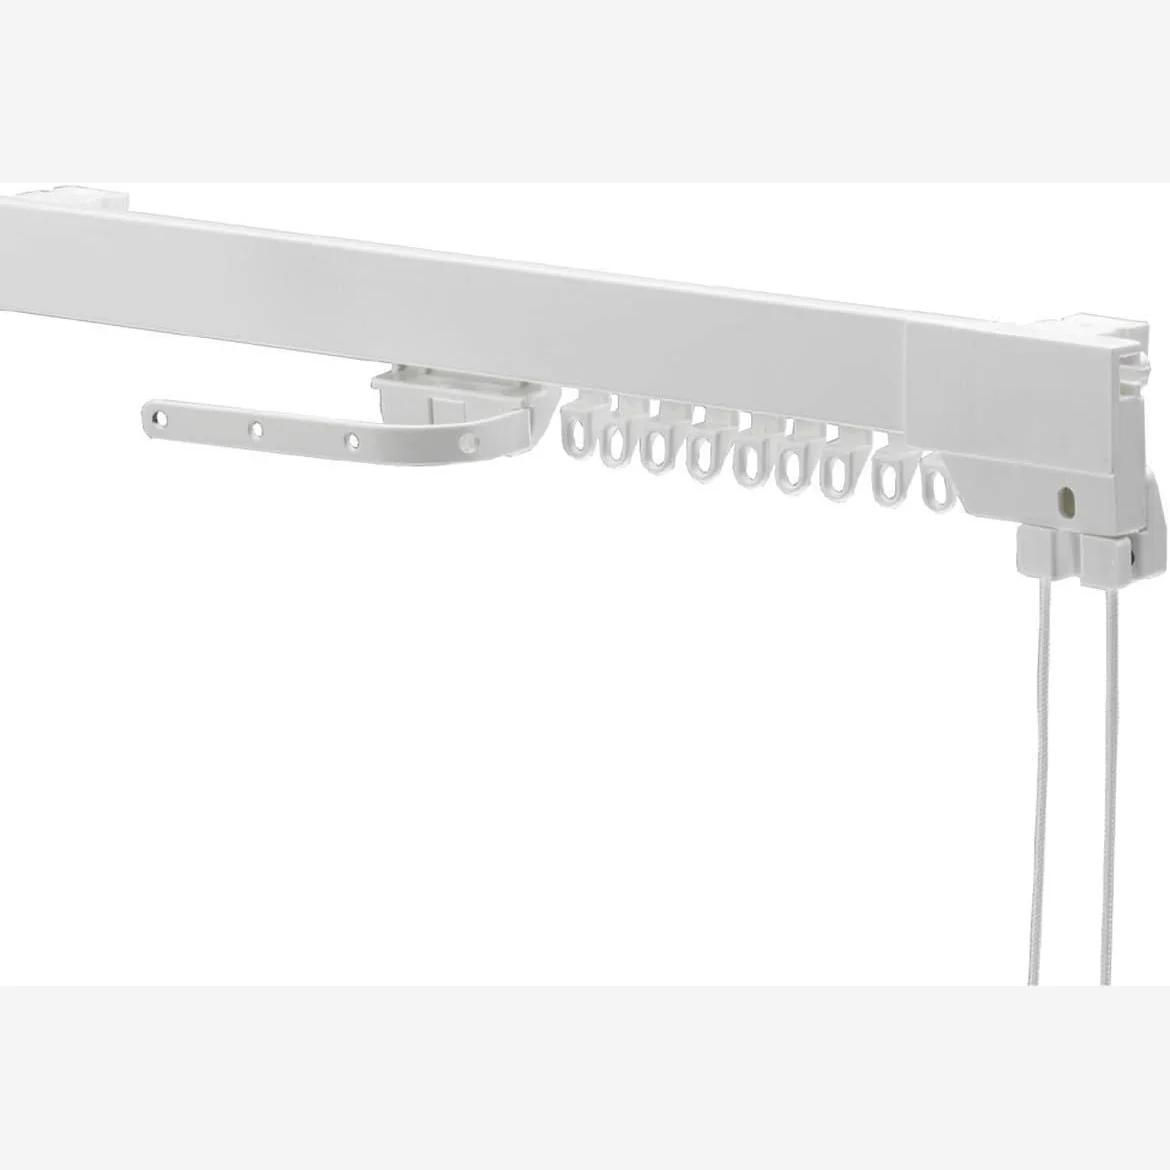
Long-span Supreme corded kit used in manufacturer diagrams for ceiling-fixed runs.
Check priceEvery Swish curtain track arrives with a fitting leaflet, but those leaflets are easily lost — especially when a track has been above your window since the mid-1990s. This page pulls together the instructions you are most likely to need, covering assembly, cord re-threading, curtain hanging and ongoing care.
Before any fitting, check that the parts supplied match the packaging list. A complete Swish kit typically contains:
If any of these are missing, stop and order the replacement part. Do not substitute a screw or a glider from a different kit, as the diameters and lengths are not always identical.
On a corded Swish track, the cord runs from a cord-pull at one end, through the master glider, around an internal pulley at the far end, and back to join itself in a loop. The master glider and its partner move in opposite directions as the cord is pulled, which is what closes the pair of curtains together.
Draw the curtains open and closed a few times to check the tension is even. If the cord slips, tighten the knot; if it binds, loosen it by a millimetre.
A cord frays after many years of use and should be replaced at the first sign of damage. Most replacement cords are sold in generous lengths, with a knot diagram on the packaging.
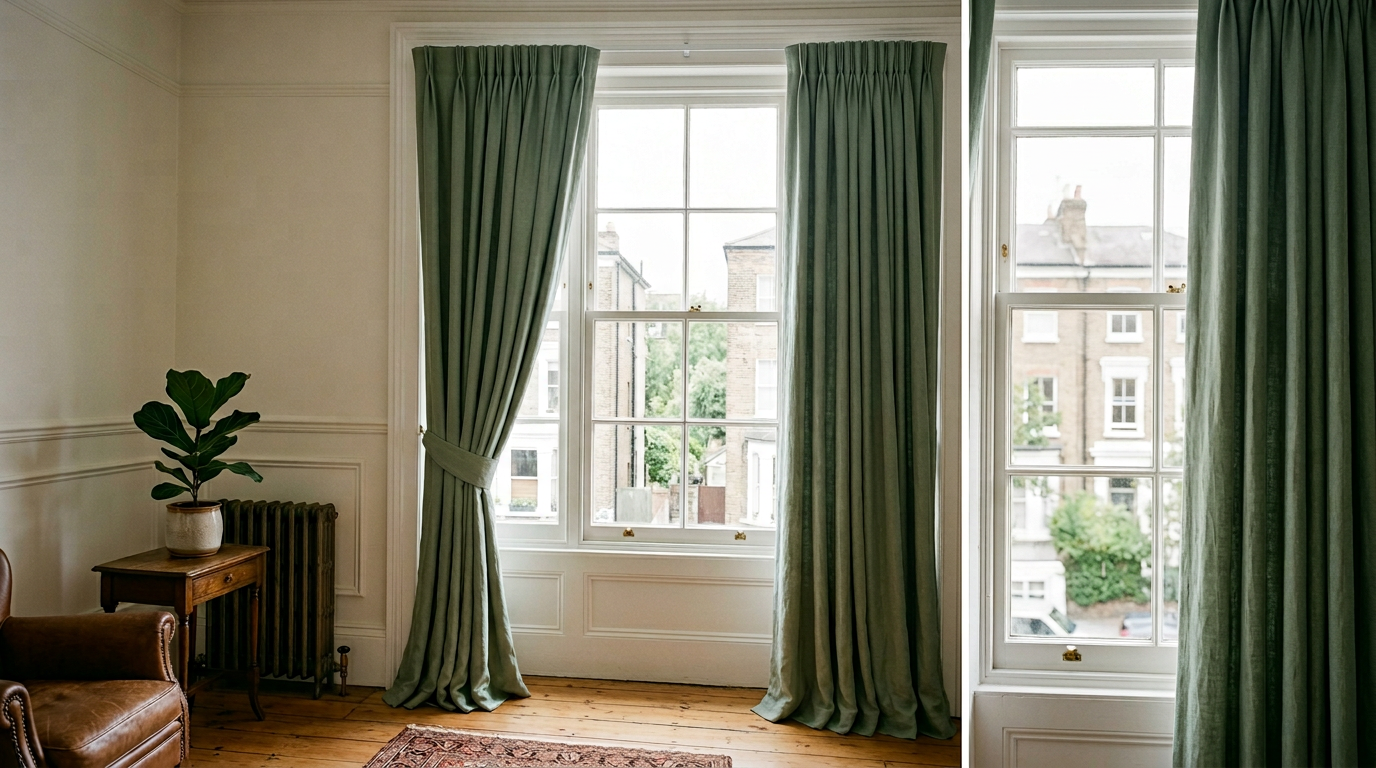
For pencil-pleat curtains, pull the gathering cords on the heading tape until the curtain is the correct width, then tie the cords off neatly in a small bundle at one side. Distribute the pleats evenly before inserting the hooks.
For pinch-pleat curtains with a hand-pleated heading, fit the combination hooks first and use them to form the pleats. Insert the hooks into the eye of each glider, starting from the master glider and working outwards. Fine-tune the height of the curtain by moving the hooks up or down to a different row of pockets on the tape.
Once a year, give the track a simple service:
A ten-minute service each spring keeps a Swish track feeling like new.
Printed leaflets are useful, but the PDF versions are even better because you can zoom in on the diagrams. The most frequently requested downloads cover:
Keep a copy of the relevant PDF on your phone during fitting; it is much easier than trying to handle a paper leaflet from the top of a stepladder.
Most Swish installations are firmly within DIY territory. Consider calling a professional fitter when:
Most local curtain fitters will happily install a customer-supplied Swish kit, which is often the cheapest route to a perfect result on a tricky window.
Tracks for Heavy Curtains
Aluminium systems for interlined drapes.
Tracks for Bay Windows
Flexible and corner-joint solutions.
How to Fit a Swish Track
Step-by-step DIY installation guide.
Leverlock Brackets
The wall and ceiling fixing that defined Swish.
Gliders
Replace worn runners for smooth draw.
Curtain Hooks
Plastic pin hooks for every heading style.