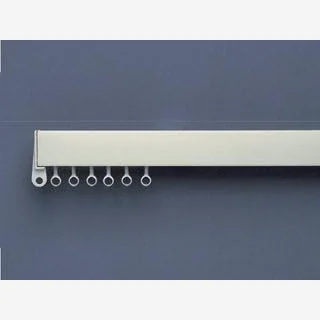
Swish Deluxe Curtain Track Set (250 cm)
All-in 250 cm kit most DIY fitters start with on a straight window.
Check priceA clear ten-step guide to fitting a Swish curtain track properly first time, with tips on bracket spacing, drilling and dressing the curtains.
Straightforward lengths and bracket packs you can measure against before you drill.
All-in 250 cm kit most DIY fitters start with on a straight window.
Check price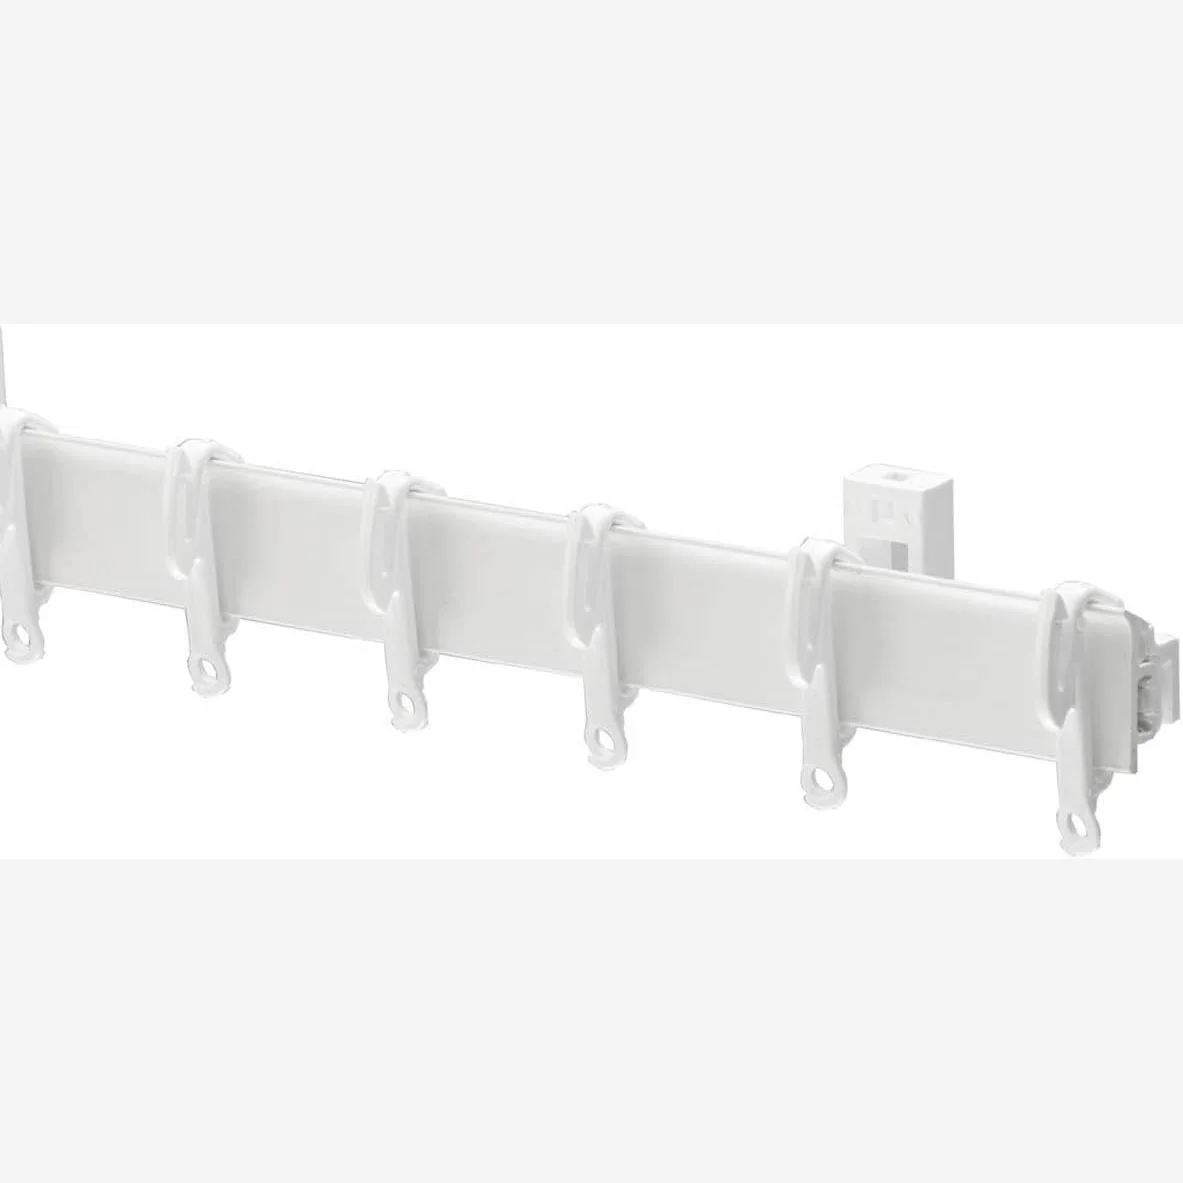
Shorter Sologlyde coil ideal for practising cuts before tackling a big bay.
Check price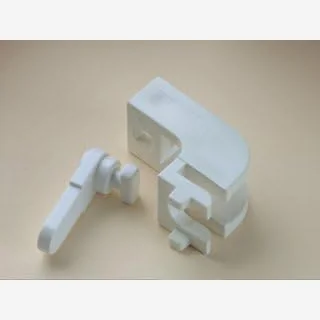
Bracket pack for checking Leverlock spacing against your pencil lines before pilot holes.
Check price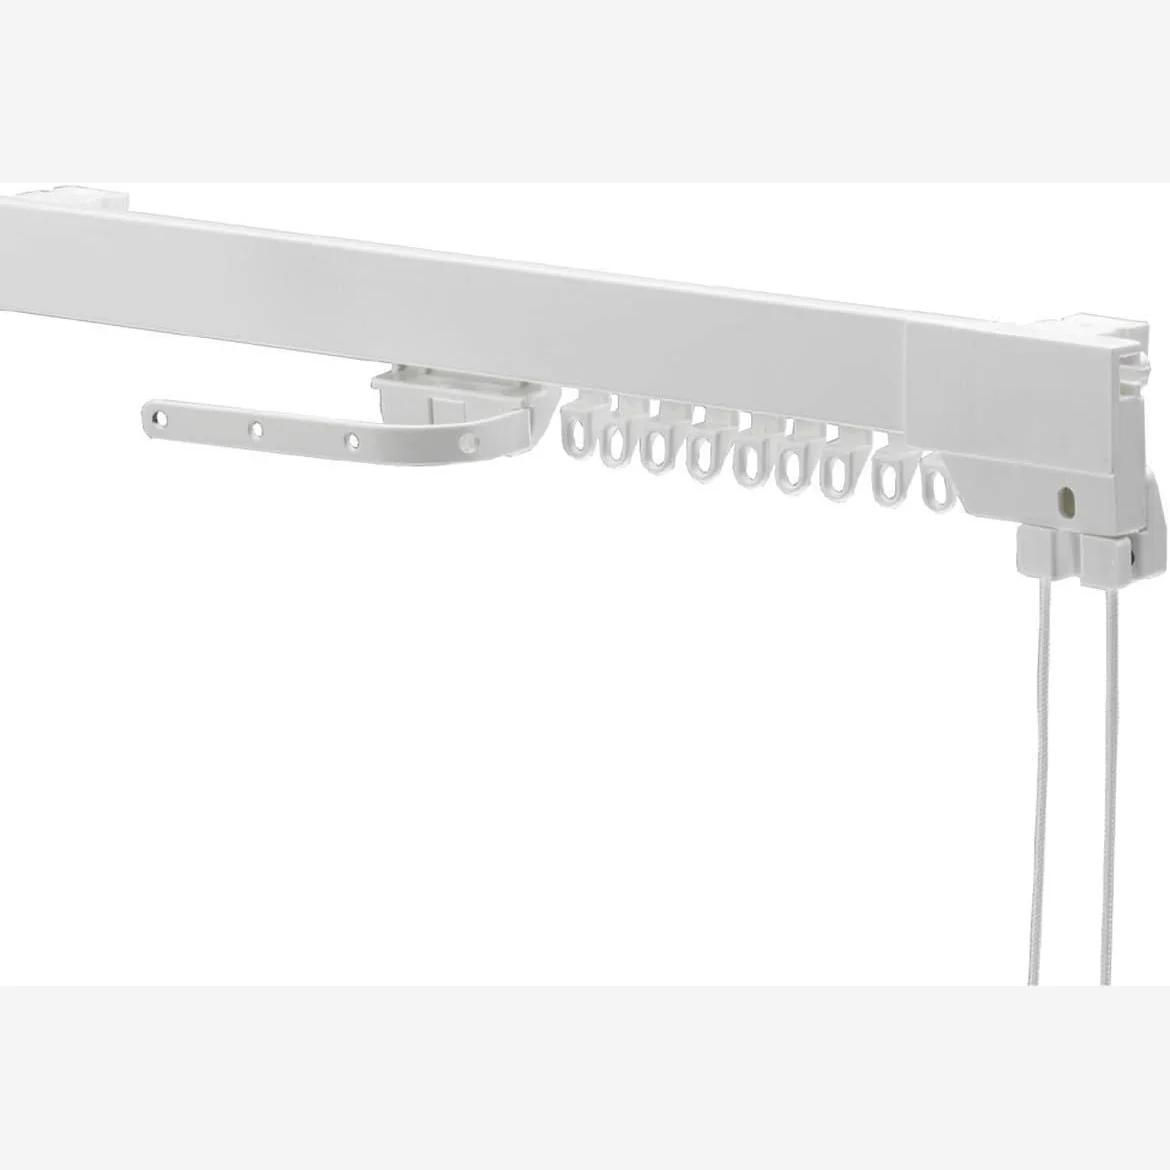
Flagship corded aluminium kit illustrating tighter bracket centres along long spans.
Check priceFitting a Swish curtain track is a genuinely satisfying DIY job. With basic tools and a careful hour, you can hang a track that looks professional, draws beautifully and lasts for decades. This step-by-step guide covers a standard wall-fixed PVC or aluminium Swish track over a straight window; the principles are the same for ceiling fixing and bay windows, with small adjustments mentioned at each step.
Measure the full width of the window frame. For a straight window, add 15–25 cm to each end so the curtains stack clear of the glass when open. Call this the finished track length. Write it down.
For a bay, measure each section separately and add the figures, following the guide on our bay-window page.
Mark the finished track length on the Swish track using a pencil. Support the track in a wooden mitre block and cut with a fine-toothed hacksaw, using gentle forward strokes. A blade with 24 teeth per inch gives the cleanest cut in PVC and aluminium alike. Smooth the cut edge with a file so gliders will pass over it without catching.
Decide on the bracket height above the window. A height of 10–15 cm above the window frame is traditional on a wall-fixed track, allowing the heading to fully cover the top of the window when closed.
With the track lying on the floor, slide the brackets onto the back of it. Start with brackets within 10 cm of each end, then space the remainder evenly along the length:
Lightly pencil a horizontal line on the wall at the chosen bracket height, using the spirit level. Hold the track, with brackets attached, up against the line and mark the centre of each bracket screw hole. Take the track down.
Drill at each mark, to the depth of the wall plug, using the correct drill bit for your wall. In a solid masonry wall, a 6 mm masonry bit and standard red plugs are fine. In a plasterboard wall, aim for a timber stud and omit the plug; if no stud is available, use proper metal toggle fixings.
Push a plug into each hole until it is flush with the wall. Remove the brackets from the track and set them to one side.
Hold each bracket against its mark and drive the screws home. The bracket should pull firmly against the wall with no play. Do not overtighten: on a PVC bracket this can crack the moulding, and on a plasterboard wall it can crush the plasterboard surface.
Before you clip the track back on, cast an eye across the brackets from one end and check they are all on exactly the same line. Small height differences are easier to correct now than later.
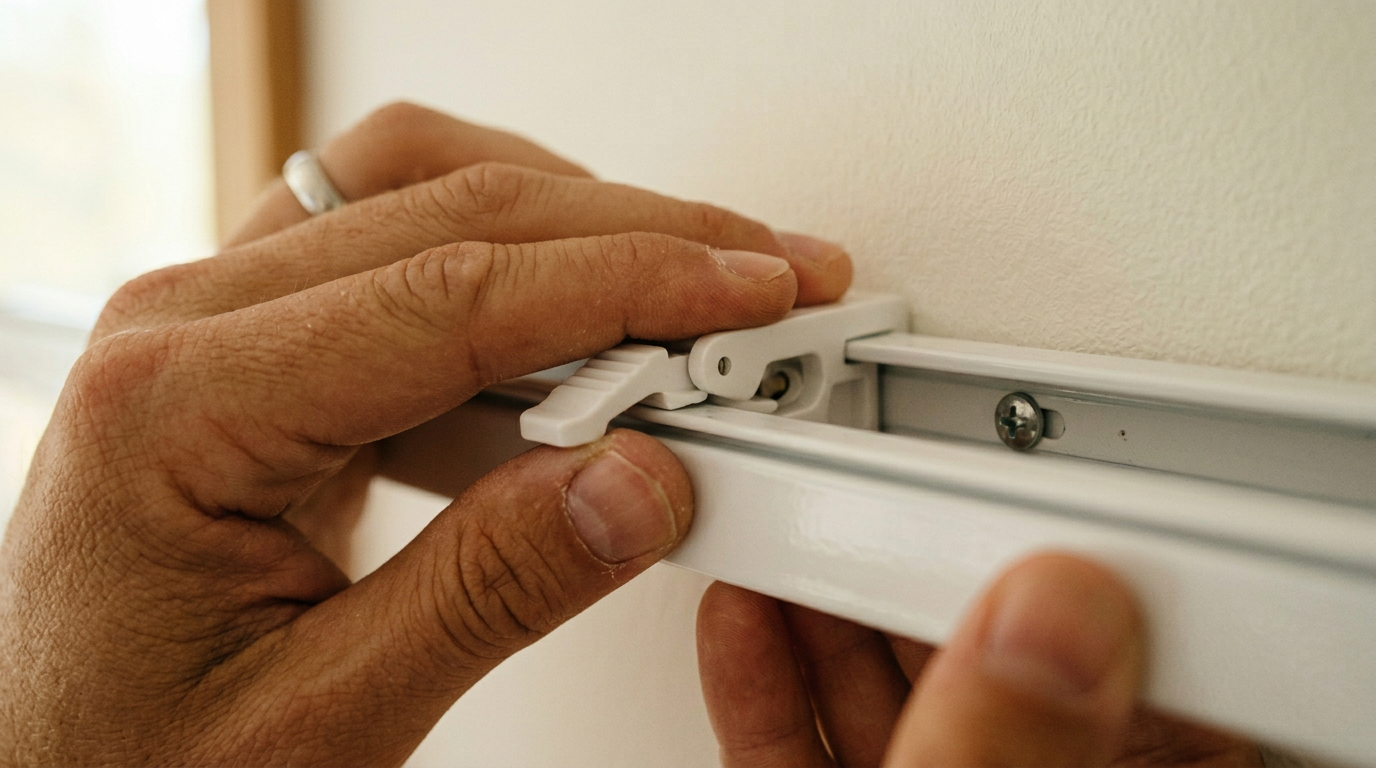
Open each Leverlock arm so the front edge of the bracket is clear. Lift the track into place so the back of its channel rests against all the brackets at once. Starting at one end, press the track firmly back and close the Leverlock lever over the top; it should click positively.
Work your way along, closing each lever in turn. When the last one clicks, the track is locked in place.
Slide the gliders into the track from one end (it does not matter which). Insert the end stops and, if you are using one, the overlap arm near the centre. On a corded system, run the cord through the fittings as shown in the instructions and knot the end inside the cord-end housing. Fit the cord tidy or tensioner to the wall beside the track so the cord cannot tangle or hang within reach of small children.
Attach hooks to the heading tape at roughly 8 cm intervals. Lift each curtain to the track and slip the hooks through the eyes of the gliders, starting at the innermost glider and working outwards. Draw the curtains shut and open once or twice to check that the pleats fall naturally.
Freshly hung curtains rarely fall into perfect pleats immediately. To help them on their way, draw them fully open, arrange each fold by hand into neat accordion pleats, then tie the bundle loosely with soft ribbon in three or four places and leave overnight. The next morning, remove the ribbons and watch the curtains hang like they have been there forever.
The process is almost identical. The brackets are simply screwed up into the ceiling instead of the wall. Make sure the fixings reach a joist or a cross-batten; never hang a heavy curtain track from plasterboard alone. Pencil the bracket positions in a straight line across the ceiling and follow the rest of the steps above.
Always use a stable stepladder, never a chair or a shelf. If you are drilling above a window, use safety goggles to keep dust out of your eyes, and be aware of the position of any hidden pipes or cables, particularly on the kitchen side of the house.
Tracks for Heavy Curtains
Aluminium systems for interlined drapes.
Tracks for Bay Windows
Flexible and corner-joint solutions.
How to Fit a Swish Track
Step-by-step DIY installation guide.
Leverlock Brackets
The wall and ceiling fixing that defined Swish.
Gliders
Replace worn runners for smooth draw.
Curtain Hooks
Plastic pin hooks for every heading style.